
Installation of Commerce Server 11.x with Sitecore 8.x
- Sathyamoorthy Srinivasan

- Nov 2, 2021
- 1 min read
Updated: Jan 4, 2022
Installation of Commerce Server
1. Run the CommerceServer-11.4.xxx.exe installer, located at the root of the Sitecore Commerce release package.

2. Select Install, and accept the license agreement.
Commerce Server installs, and then the Configuration wizard launches.
3. Note, If the Distributed Transaction Coordinator Windows service is not running, the Configuration Wizard will fail. (please leave a comment on my blog will share the fixes & troubleshooting options)
4. Follow the instructions in the Configuration Wizard to configure Commerce Server.
On the Administration Database page, verify the value in the SQL Server field (the default value is the machine name).
5. If you are using an SQL named instance, enter the name of your SQL instance. If you are using SQL Express, enter .\SQLExpress or localhost\SQLExpress.
Click Test to verify the connection to the database.
6. On the Staging Service page, enter your domain password, then click Next. You are not creating an IIS Virtual Root at this time.

On the Summary page, click Next.
7. On the final page of the wizard, click Finish.
8. Powershell scripts to CSSite install Web Service & admin DB

9. Catalog Manager Configurations

10. IIS Configurations

11. Catalog Authorization
a. use a run tool with 'azman.msc' and configure authorization setup as below,
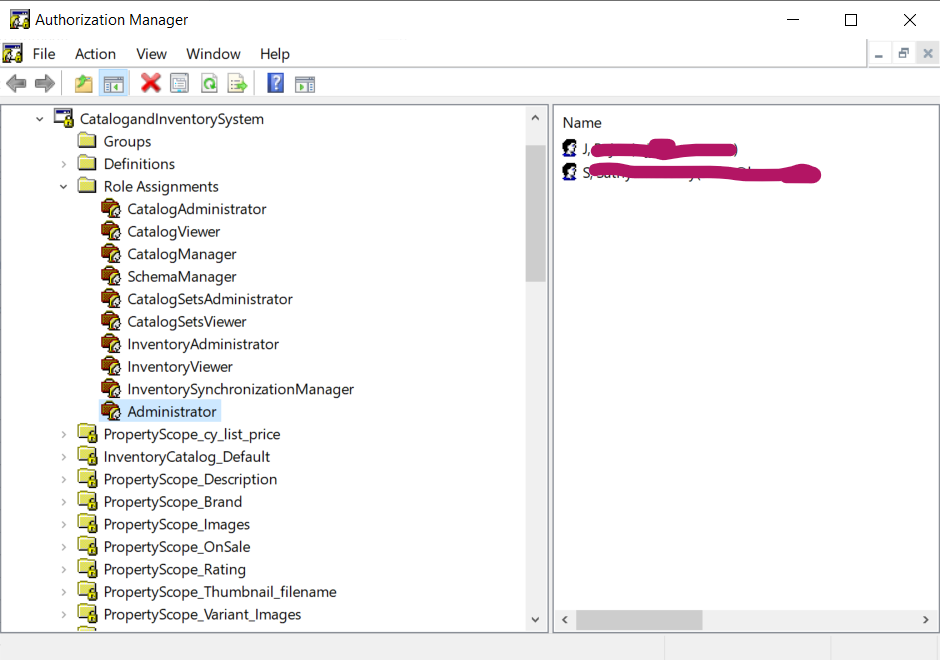
When you save & reload the tool you can see the form as below,

Start importing the catalog file.
Comments